
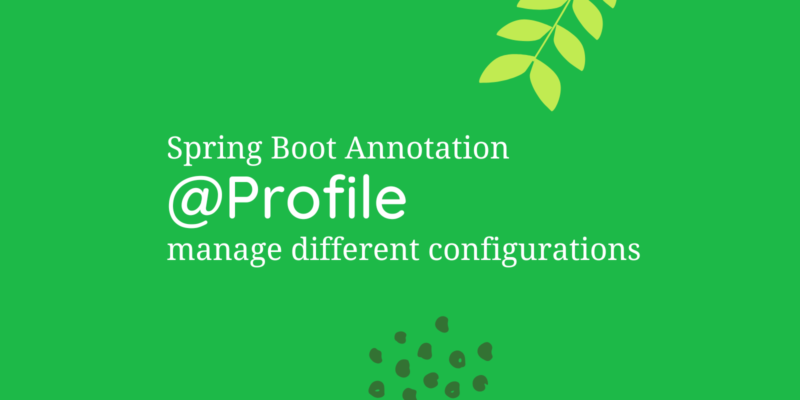
How to use @Profile annotation in a spring boot application
The @Profile annotation in Spring Boot is a powerful tool for managing different configurations within an application. It allows developers to define specific beans, components, or configurations that should be active only when certain profiles are active. This can be particularly useful when dealing with multiple environments, such as development, testing, and production.
Let’s delve into the details of how to user @Profile annotation in a spring boot application, its variants, and how to effectively use it in Spring Boot applications.
Introduction to @Profile Annotation:
The @Profile annotation is a part of the Spring Framework and is used to conditionally activate or deactivate beans or configurations based on the active profiles in the application. It is commonly used to segregate components or configurations specific to different environments.
Basic Usage:
Here’s a simple example of using the @Profile annotation in a Spring Boot application:
@Configuration
public class AppConfig {

    @Bean
    @Profile("dev")
    public DataSource dataSourceForDev() {
        // Configuration for the development environment
        return new HikariDataSource();
    }

    @Bean
    @Profile("prod")
    public DataSource dataSourceForProd() {
        // Configuration for the production environment
        return new TomcatDataSource();
    }
}
In this example, two different DataSource beans are defined, each annotated with @Profile("dev") and @Profile("prod") respectively. The beans will only be created if the corresponding profile is active.
Default Profile:
You can specify a default profile that will be used if no profile is explicitly set. This is achieved by adding the default attribute to the @Profile annotation:
@Bean
@Profile("dev")
public DataSource dataSourceForDev() {
    // Configuration for the development environment
    return new HikariDataSource();
}

@Bean
@Profile("prod")
public DataSource dataSourceForProd() {
    // Configuration for the production environment
    return new TomcatDataSource();
}

@Bean
@Profile("default")
public DataSource defaultDataSource() {
    // Default configuration
    return new BasicDataSource();
}
In this example, if no profile is set, the defaultDataSource() bean will be created.
Activating Profiles:
Profiles can be activated in several ways:
- Application Properties:
- In
application.propertiesorapplication.yml, you can set the active profiles using thespring.profiles.activeproperty:
- In
spring:
  profiles:
active: dev- Command Line:
- You can specify active profiles as a command-line argument when running the application:
java -jar your-application.jar --spring.profiles.active=dev- Environment Variables:
- You can also set active profiles using environment variables.
Combining Profiles:
Profiles can be combined using logical operators like & (and), | (or), and ! (not). For example:
@Bean
@Profile("dev & mysql")
public DataSource dataSourceForDevWithMySQL() {
    // Configuration for the development environment with MySQL
    return new HikariDataSource();
}
In this case, the dataSourceForDevWithMySQL bean will be created only if both the dev and mysql profiles are active.
Profile Expression:
Spring also supports SpEL (Spring Expression Language) in profiles. This allows for more complex conditions. For example:
@Bean
@Profile("!cloud & database")
public DataSource dataSourceForDatabase() {
    // Configuration for non-cloud environments with a database profile
    return new HikariDataSource();
}
In this case, the dataSourceForDatabase bean will be created if the profile is not cloud and is database.
The @Profile annotation in Spring Boot provides a flexible and powerful mechanism for managing different configurations based on the active profiles. By leveraging profiles, developers can easily switch between different environments and tailor the application behaviour accordingly. Understanding the nuances of @Profile and its variants is essential for building robust and adaptable Spring Boot applications.
You can read the documentation here – @Profile Annotation
In the last post we had discussed How to use @Retryable annotation in a spring boot application.
Happy Learning!
Subscribe to the BitsToGigs Newsletter
What's your reaction?
You may also like

Squash – One of the most useful flags in Git Merge
Must know of the Lombok Library for Java Development

The most important Spring Boot Interview Questions
More in:Java